Amateur's Adventure with Tiptronic
OK, I've lived with this problem now for more than a year. My 2004 TDI Tiptronic started it's syndrome a year ago. Suddenly no shift out of low until at least 20 minutes of warming up wasting fuel. Even if warm and I stop the car for half an hour, have to warm it up for 10 minutes before use.
I had enough of that fun, and invested in the N92 solenoid for about $59 bucks and $4.50 for a gasket. I photoed in the event I was successful. Obviously I was so here is how a novice did the deed:
__________________________________________________________________________________________________________________________
Warning and I know it isn't necessary but PLEASE do block the car with jacks and set the brakes.
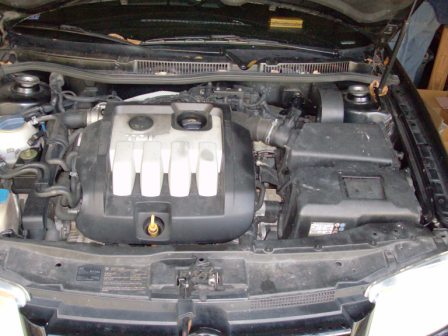
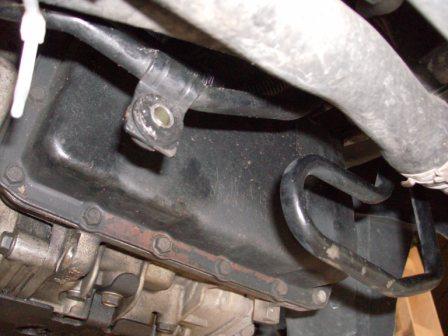
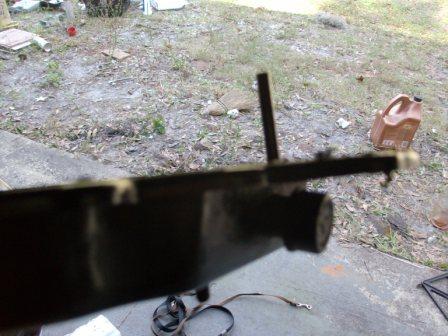
Patient before the operation
____________________________________________________________________________________________________________________
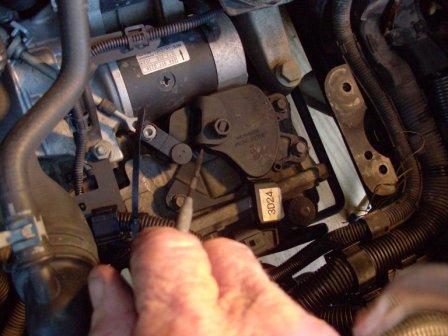
Remove battery and battery box. Tie back fuse holders out of your way. Note the shift linkage stuff and mark location with scratch awl. Carefully remove nut on the link and tie back with tie wraps, remove plug and three screws, and stow switch away on table, screw the screws back in body not to get lost.
___________________________________________________________________________________________________________________________
Note the scratches on body for reassembly.
____________________________________________________________________________________________________________
Tie all wires back as close to the fan as possible, take off the coiled pipe and bracket and tie wrap both as forward as possible. Tie wrap the nuts onto the parts they come off of.
_______________________________________________________________________________________________________________________
The coiled thing tied forward and there is a bracket bolted to case and that thing, remove it and stow it aside.
_________________________________________________________________________________________________________________
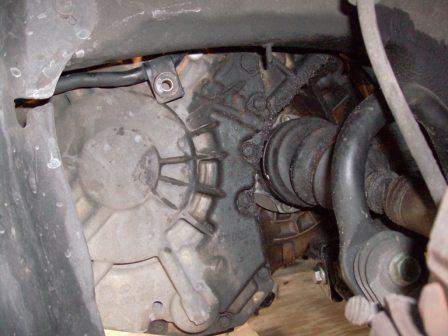
Remove the coiled pipe things hidden screws. You will have to remove wheel for best view and assembly.
____________________________________________________________________________________________________________
Make sure this bracket is out of your way. Move and tie back cables and wires. Note the pan is free, after removing 20 screws, and carefully cracking off with screw driver. It is difficult clearance due to a four inch long vent pipe that goes into the body. I worked that tube over the body wall and slowly lowered the pan clear without touching any wiring or parts.
______________________________________________________________________________________________________
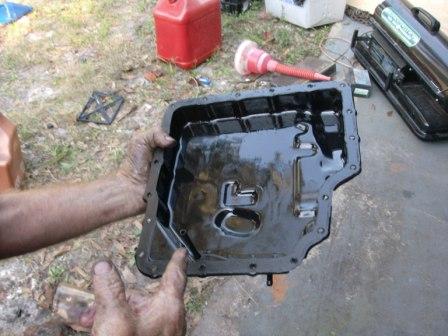
Pan was clean and I removed the rubber gasket material with a razor blade and lightly sanded it. One note forgotten, remove the ground wire attached to engine as it is in the way. Tie it backl.
________________________________________________________________________________________________________________
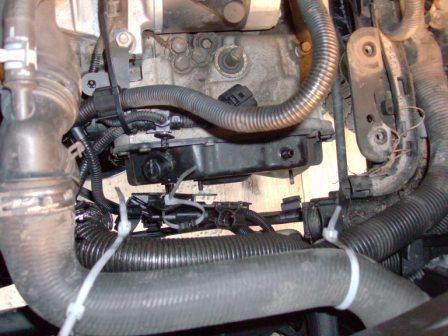
Here is the four inch problem child of clearance.
__________________________________________________________________________________________________________________
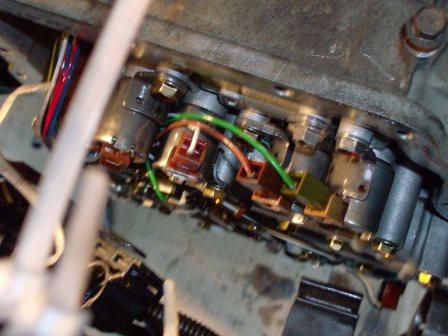
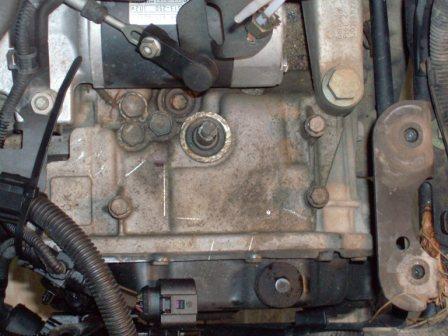
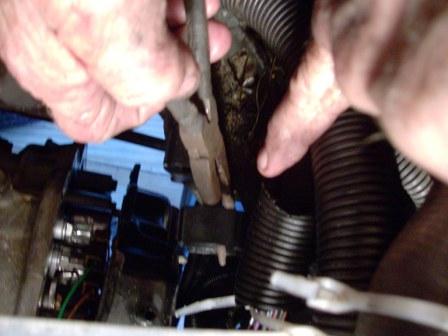
N92 shown with green wire in plug. Simply remove second screw to left of the first screw on right top. Unplug, and plug new one in. Reconnect the wire. A 20 second job. [addendum: I/WE advise you to change all the solenoids. You will later if you do not now]
________________________________________________________________________________________________________________
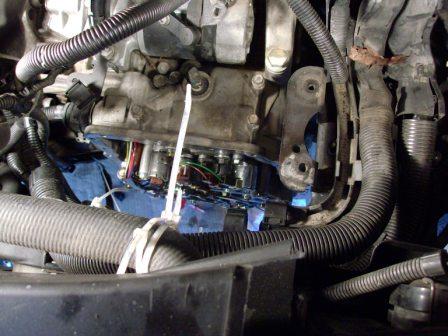
Stepping back to look at the job. By this point I only have four hours into the job, and terrified if I'll ever get it together and WILL IT WORK???
After cleaning the body cover surface, I used a blade and sand paper to remove the old rubber. I was careful and used cardboard as a dirt shield and brake cleaner ONLY on the metal surface.
I did use the cork [paper] gasket as other have only used RTC. I beaded the black Permatex RTC on the cover, then the gasket onto that, and another bead of RTC.
I (with the help of my sweet wife) sneaked the pan up into place with the vent tube outside of case. Once near the top wife conveyed the pipe over the edge and the pan went into place. I then screwed hand tight the 20 screws, and let the RTC cure for an hour and half, then star tightened the screws to approximately 7lbs.
I let set over night for a 24 hour cure of the RTC with gasket.
The next morning, I SLOWLY put everything back into place. Lined up the switch with my scratches, and placed all hose and wires back into their retainers. Use a magnet tool to hold the three small bolts for the bracket that goes to the pan then the pipe thing next. Don't forget to put the ground wire back onto the engine like I did. It makes sparky light if you don't. LOL.
_________________________________________________________________________________________________________
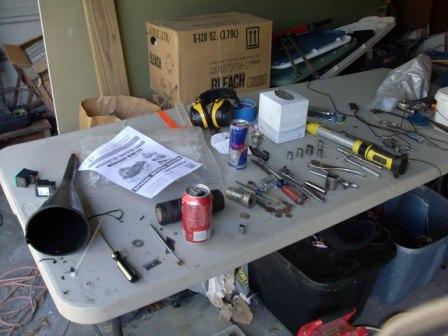
Here is my sophisticated work bench with the expensive special tools you will need for this job. Don't forget the beer (not shown) to drink right before installing the oil (Merkon V) to test for the first time. It deadens the disappointment if the car stays in neutral all gears. Best to drink it down in one swoop and make it a 24 ounce can.
OK, totally cold car, capped the oil filler, and drove it out of the drive and onto gear counting. Immediate 1 to 2, then came a 3, 1500 rpm, 4, and 2000 rpm 5!!!!!!!!!
I dood it. It is fixed. 202K and going for 400K. Total time 10 hours of SLOW working. No engine jacking around or dog bone removal. (smile)
Hope this helps others.
Update, Update, etc. I've learned a lesson. Change the whole set. The extra time is better than the time for doing it right. Trust this amateur on that one. I was told and did it cheap. I was privileged in doing it twice, the right way.
Please check out our real site as one of our interests is cemeteries and local History. HOME